from Paul Sellers' Blog https://ift.tt/YiVzysn
via IFTTT


As the Sideboard Series comes to a close, we’ll embark on the Top Construction & Oil Finish. The top is really just a large walnut panel. I like to use Dominos to help keep the panels aligned curing the glueup though the same thing could be achieved by using several sets of cauls. The idea is to keep the boards as even as possible so that it limits the amount of work we need to do after the glue dries. After the top is fully scraped and sanded, I added a small 1/8″ roundover. If you’re looking for more information and tips for making wide panels that stay flat, check out this video.
Looking for the Summary version of this build? Click here!
The post Top Construction & Oil Finish | The Big Finish | Sideboard Pt 11 appeared first on The Wood Whisperer.
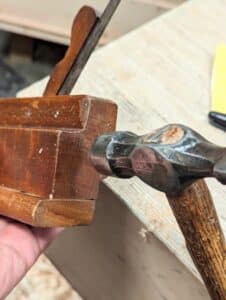
Before starting on the sawtooth standards, we’ll need to add a detail to the sliding doors that I nearly forgot about: finger holds. To make sure the door has something to grip, we’ll simply add a cove to the edge. I only added one cove to my doors but might consider adding another later. After all, the doors need to slide in both directions.
For the adjustable shelves, there are several ways we can have them interact with the case. Typically we use a series of holes and shelf pins but on a piece like this, I felt we should go the extra mile by building sawtooth standards. If you’re not familiar, this system includes standards that are notched so they can receive shelf supports that run from front to back. It’s a very cool but labor intensive choice that has the added bonus of requiring no metal or plastic. A classy way to construct adjustable shelves!
Looking for the Summary version of this build? Click here!
Don’t miss the pre-order price for Philip Morley’s Tambour Record Console course. Price goes up February 9th!
The post Sawtooth Standards | Door Coves & Adjustable Shelves | Sideboard Pt 10 appeared first on The Wood Whisperer.